Tinting shifts the colors throughout an image. In BrushCue, the Chroma Offset tool does this in OkLab, a perceptual color space designed so that similar numerical changes tend to produce similar-looking changes across different colors.
Tinting with the OkLab Axes
OkLab represents a color with three components. The L component describes perceptual lightness. The a axis runs from green to red, while the b axis runs from blue to yellow.
A tint adjustment adds an offset to a, b, or both. A positive a offset pushes colors toward red, and a negative offset pushes them toward green. A positive b offset pushes colors toward yellow, and a negative offset pushes them toward blue. Because the adjustment leaves L unchanged, it preserves the OkLab lightness of each pixel.
How the Numbers Change
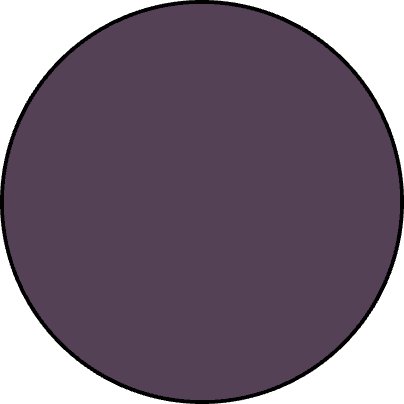
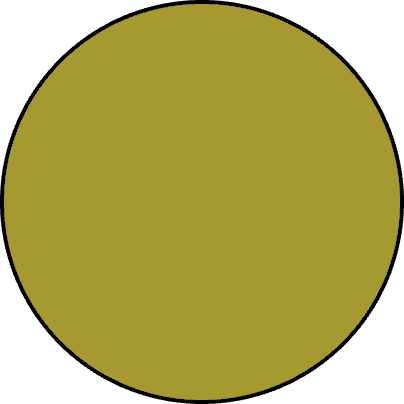
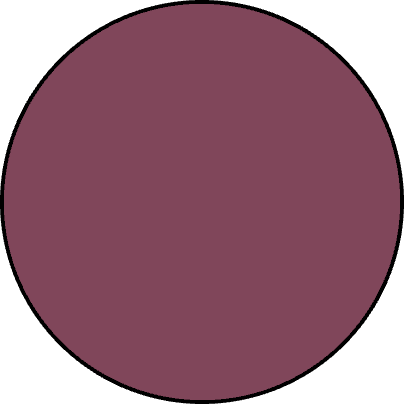
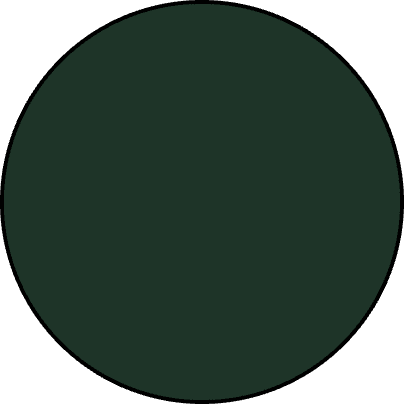
The swatches below show four tint adjustments. In each pair, the lightness value stays fixed while one or both color axes change.
| Adjustment | Before | After |
|---|---|---|
Add 0.1 to b | 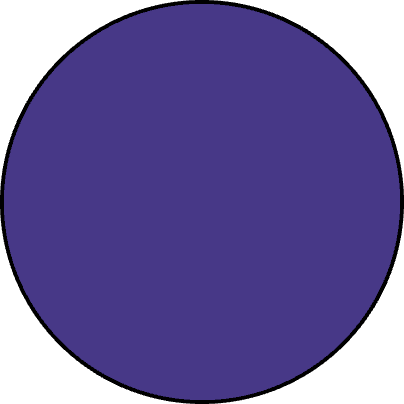
| 
|
Add 0.1 to a and b | 
| 
|
Add 0.1 to a | 
| 
|
Subtract 0.1 from a | 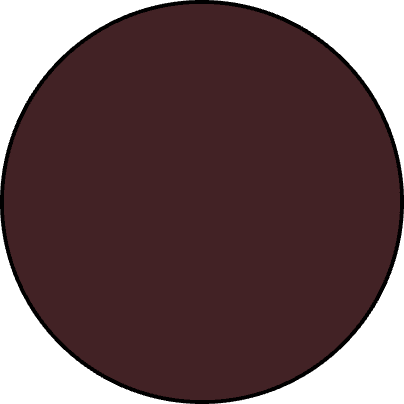
| 
|
The same offset is added to every pixel, but its effect depends on where each color begins. Neutral colors gain a distinct cast, while already colorful areas move farther along the selected axes. Some results may also fall outside the destination color space and be clipped when the image is displayed or exported.
Tint Adjustments Across an Image
These examples apply offsets of -0.1 and +0.1 along each OkLab color axis. Compare the sky, grass, clothing, and skin tones to see how one offset affects many starting colors.
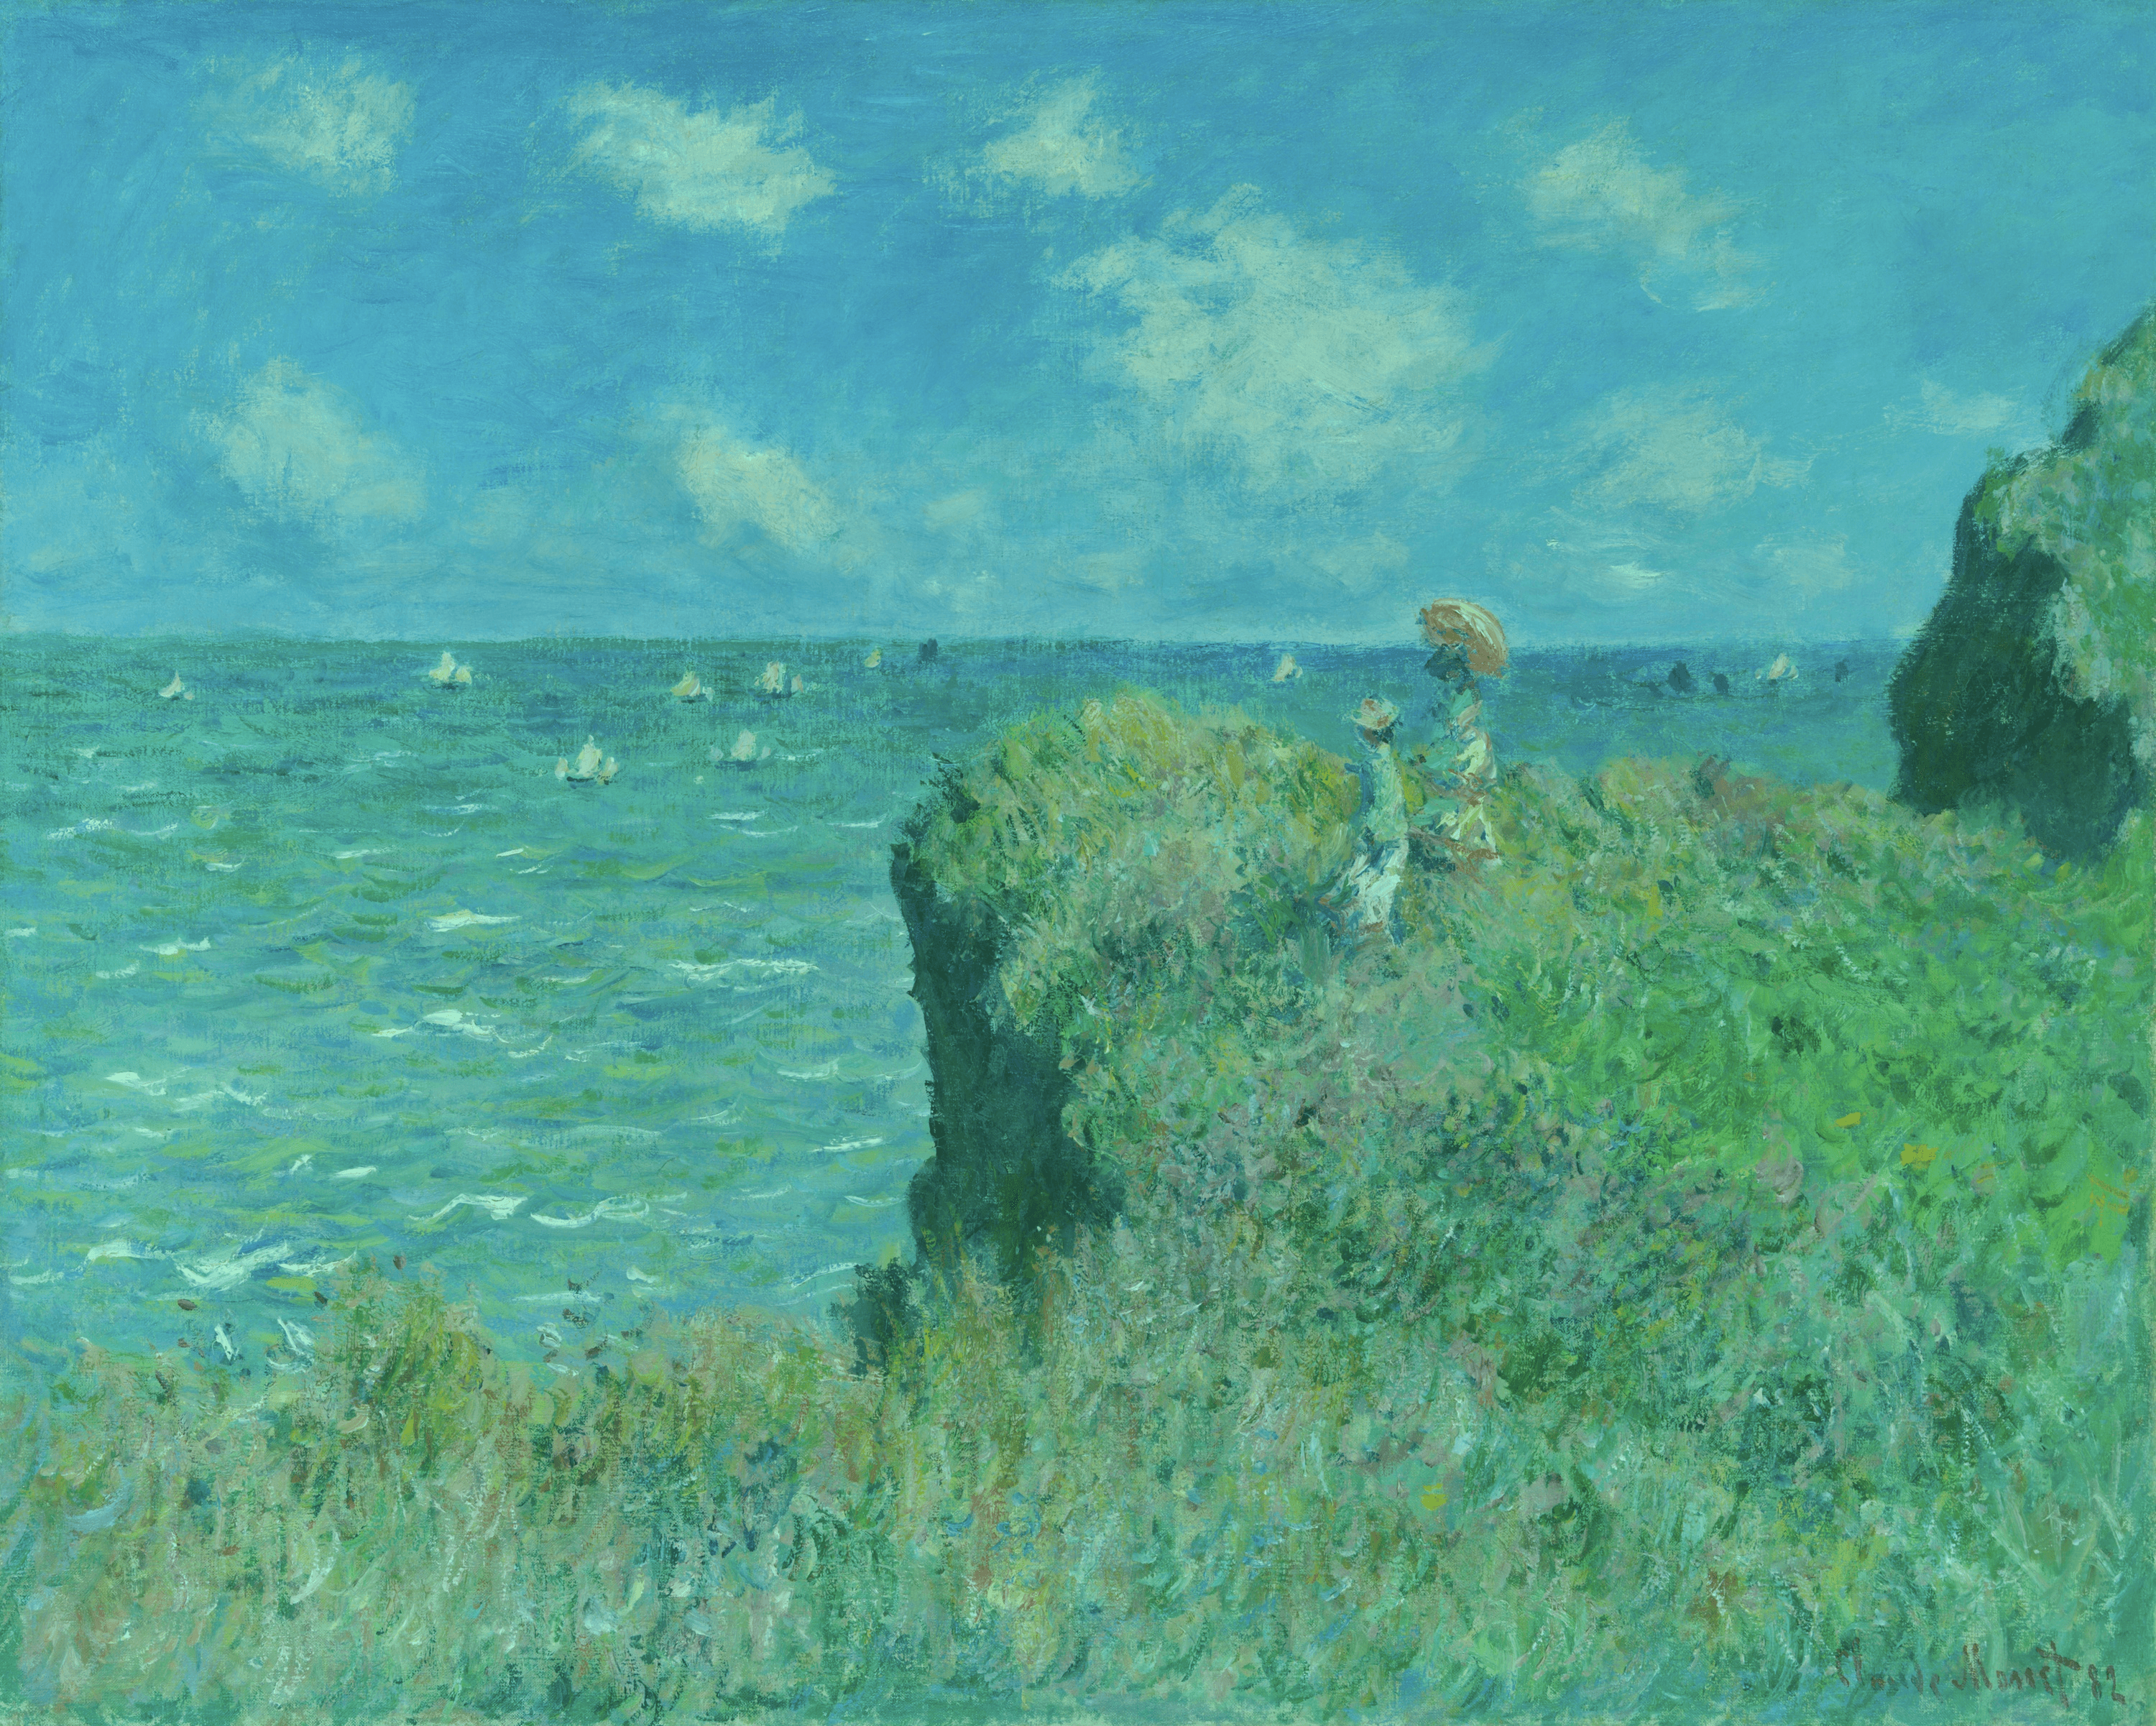
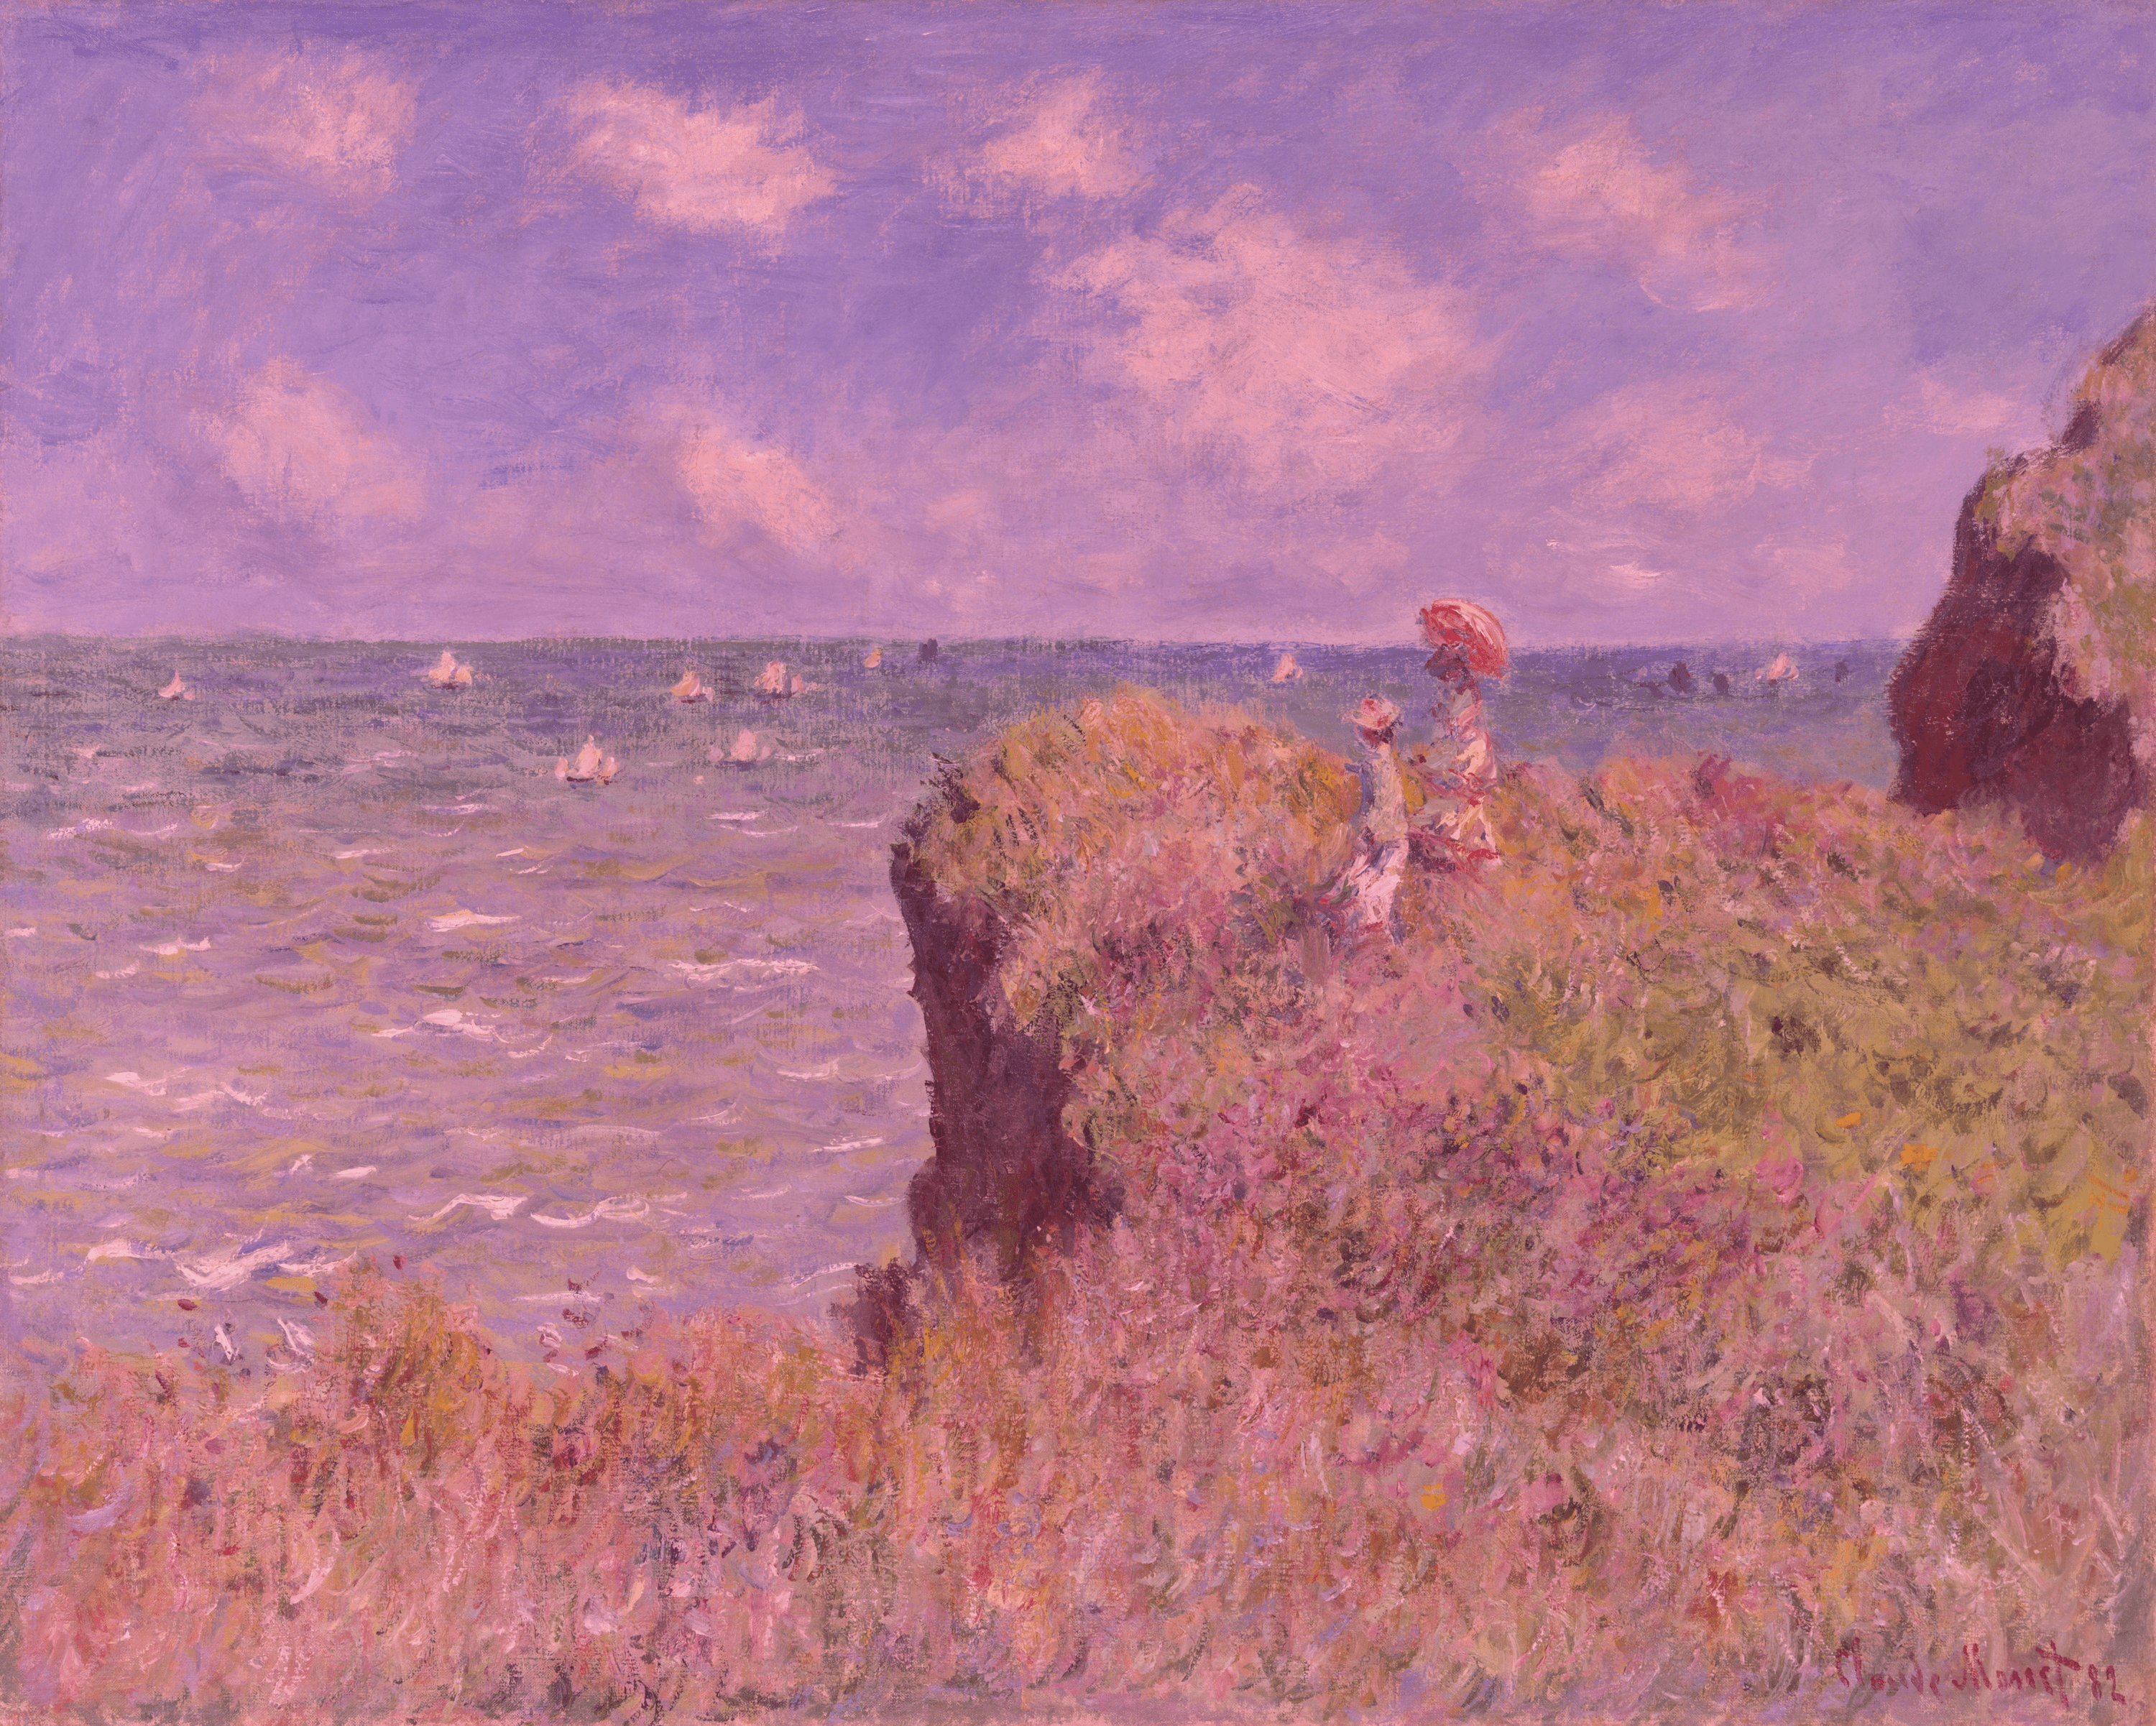
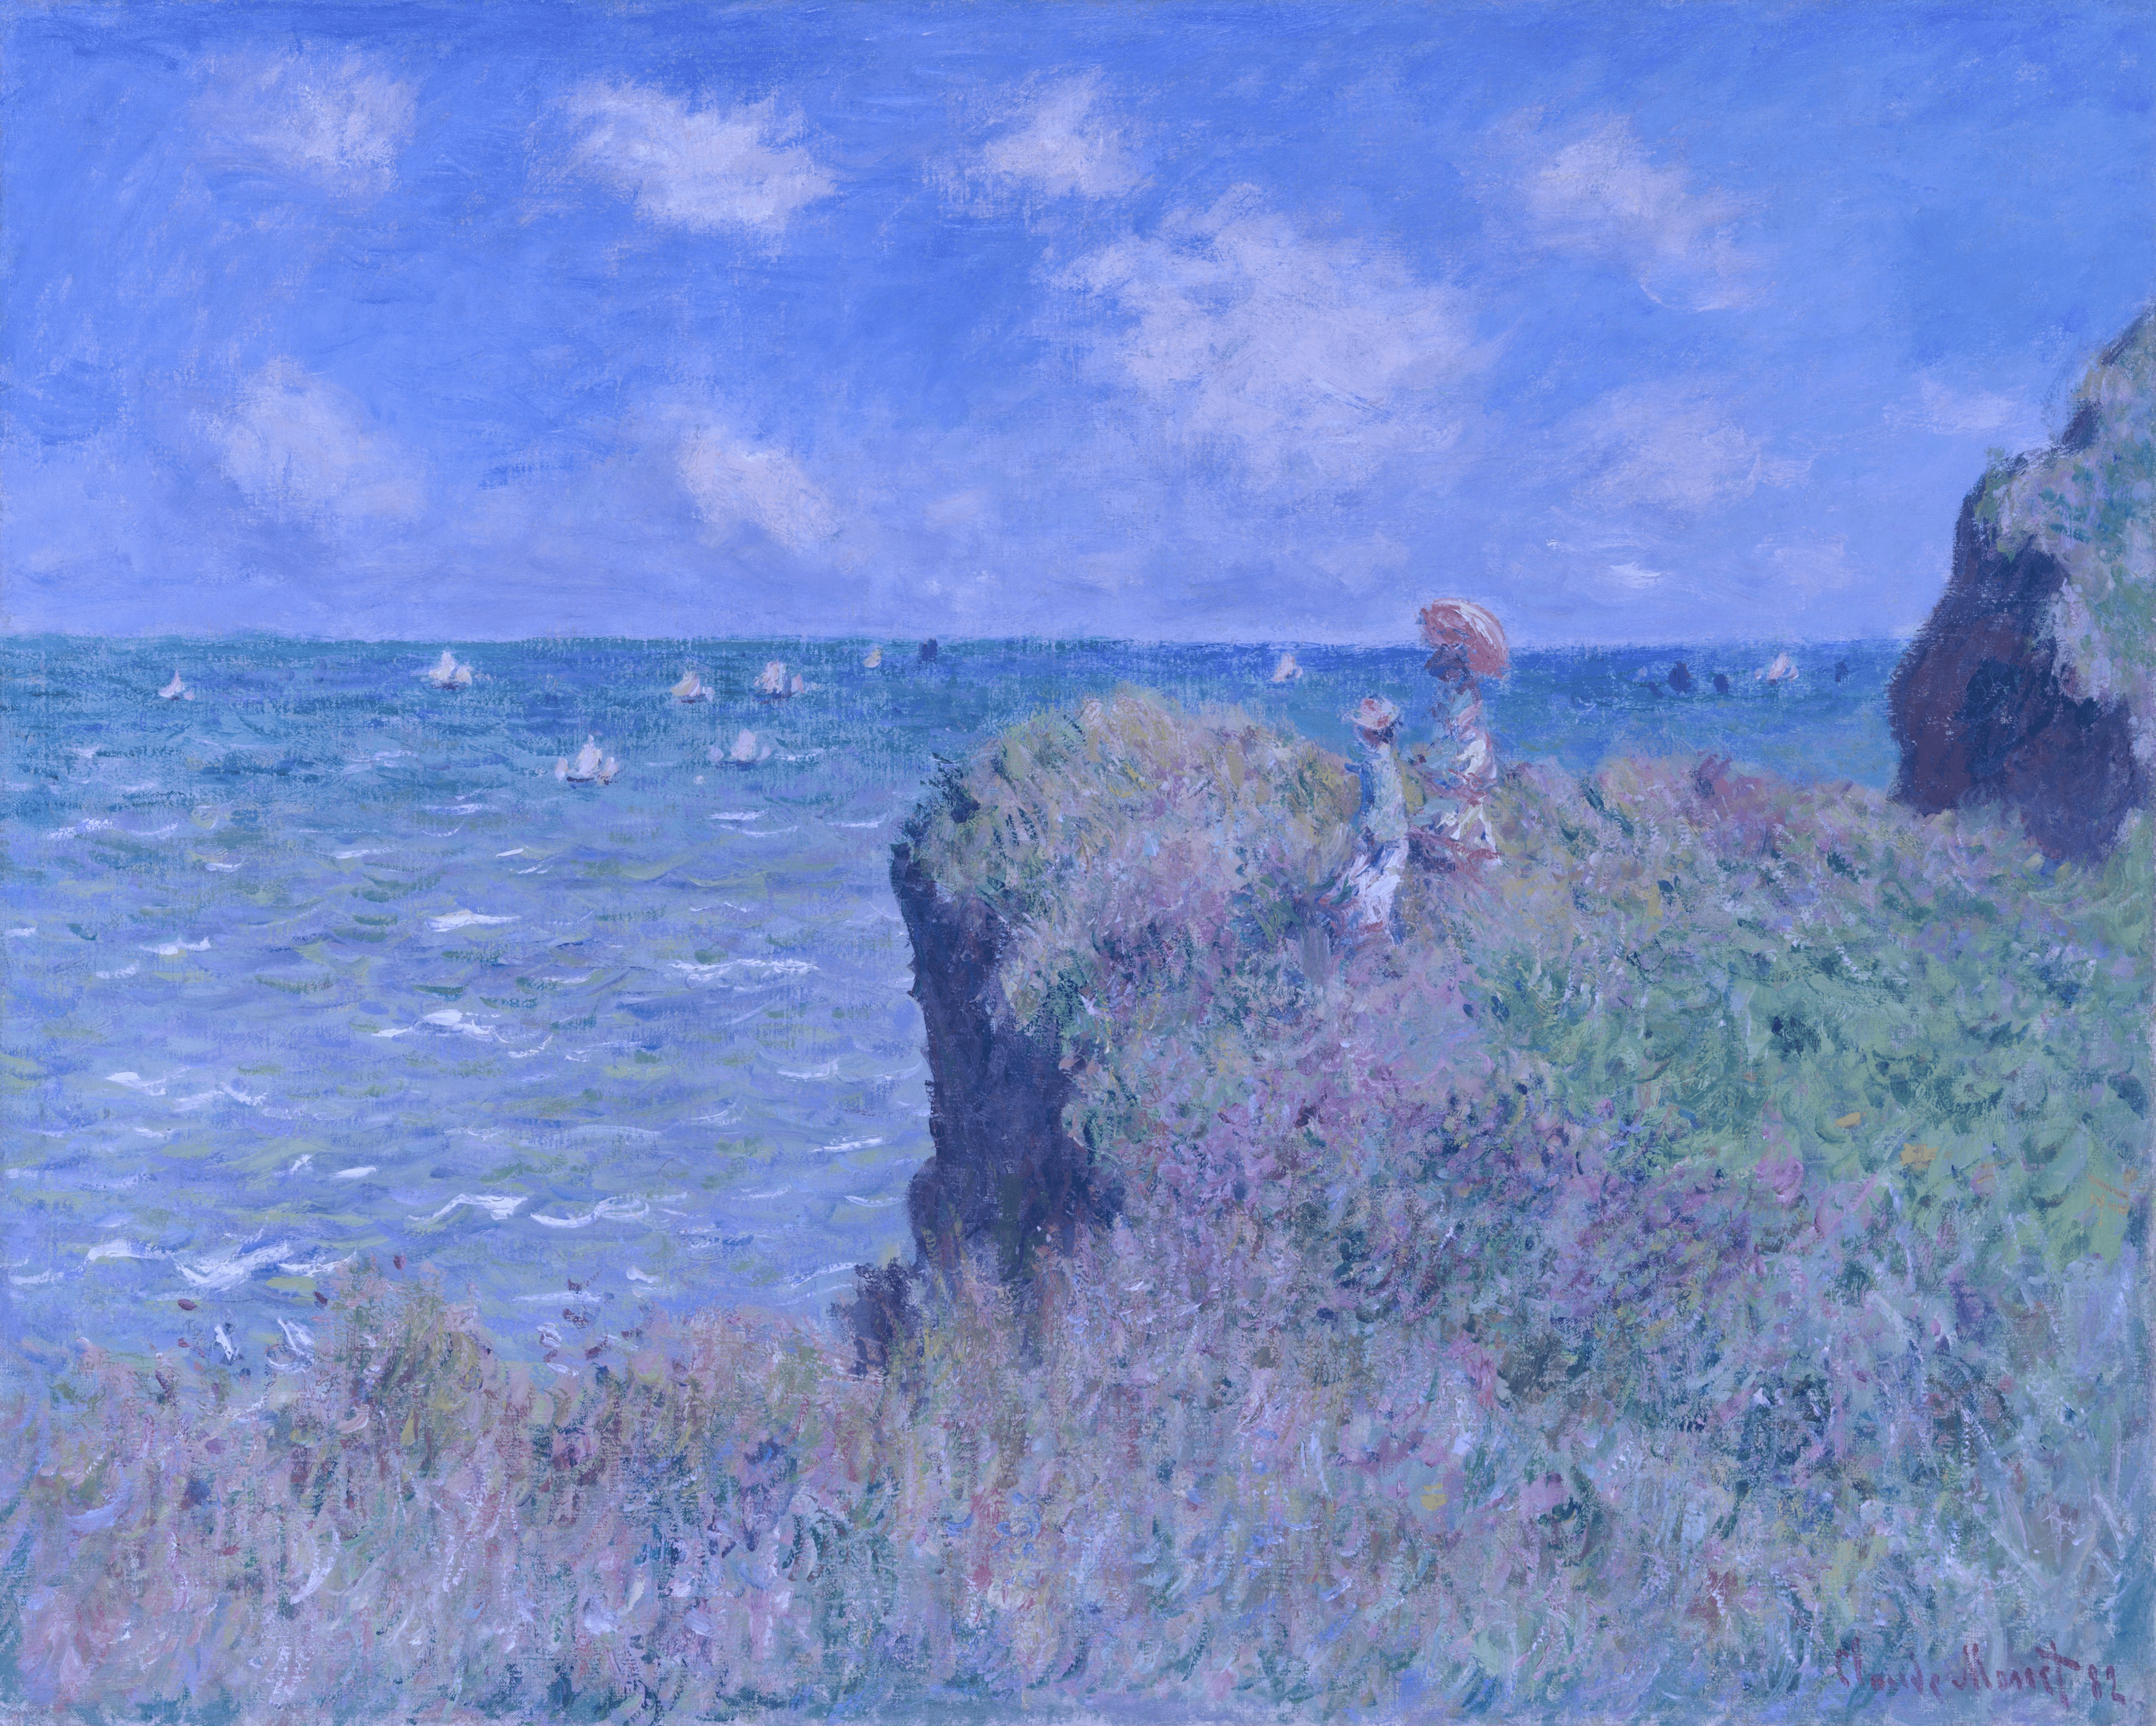
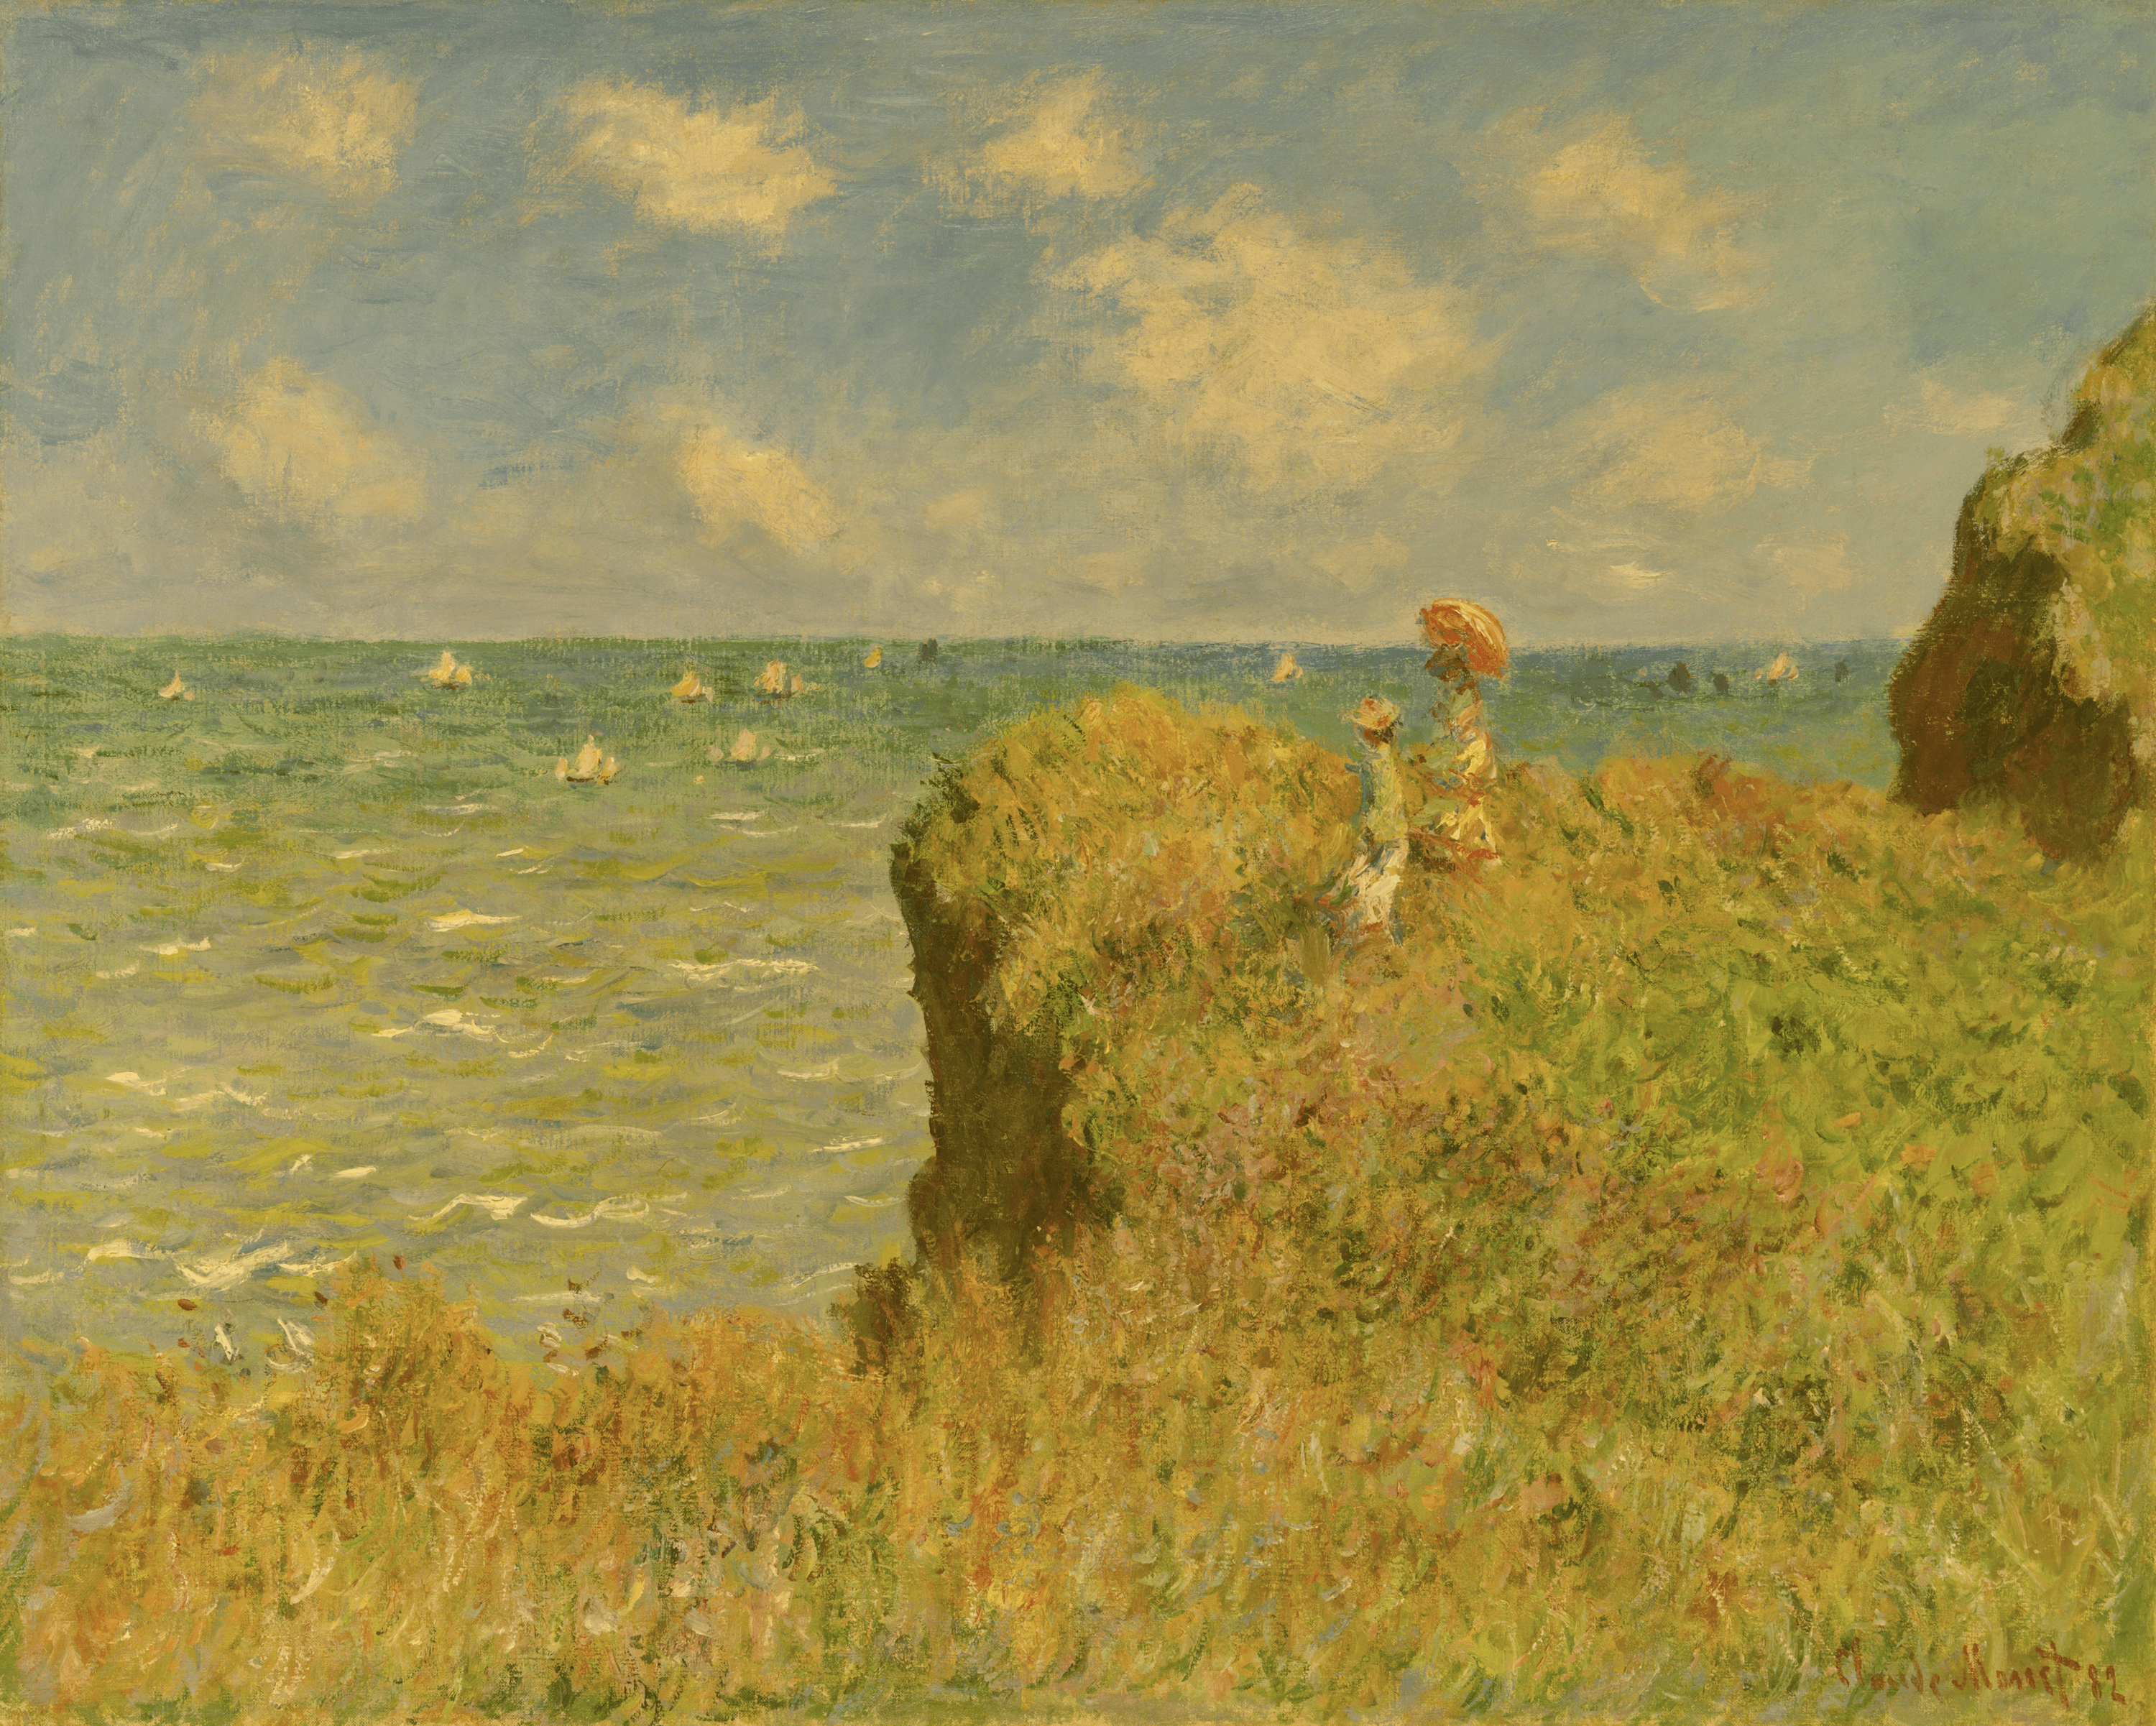
Image source: Claude Monet, Cliff Walk at Pourville, 1882. Art Institute of Chicago, Mr. and Mrs. Lewis Larned Coburn Memorial Collection, 1933.443. Public-domain source image from the Art Institute of Chicago.
When to Use Tinting
Tinting is useful for color grading, correcting an unwanted color cast, unifying the palette of several images, or creating a stylized look. Small offsets are usually enough for correction. Larger offsets produce an obvious creative effect and are more likely to push colors outside the output gamut.
Try It Yourself
Experiment with both OkLab axes in the BrushCue Chroma Offset tool. You can also use the Chroma Offset Python example as a starting point for applying the adjustment in code.