Exposure adjustments make images lighter or darker by changing their linear RGB values. Unlike a brightness adjustment, which operates in perceptual OkLab space, exposure works directly with the red, green, and blue light represented by an image. This makes exposure useful for correcting a camera capture or creating an intentionally overexposed or underexposed look.
Exposure Is Measured in Steps
If you have used a digital camera, you have probably seen exposure measured in steps. An exposure adjustment can use positive or negative steps. Instead of multiplying each RGB channel directly by the step value, we first turn the number of steps into a multiplier:
2steps
Each increase of one step doubles the linear RGB values, while each decrease of one step halves them. Positive and negative adjustments therefore behave symmetrically.
| Steps | Formula | Multiplier | What it does |
|---|---|---|---|
| 3 | 2³ | 8 | Multiplies each channel by 8 |
| 2 | 2² | 4 | Multiplies each channel by 4 |
| 1 | 2¹ | 2 | Multiplies each channel by 2 |
| 0 | 2⁰ | 1 | Leaves each channel unchanged |
| -1 | 2⁻¹ | 1/2 | Multiplies each channel by 0.5 |
| -2 | 2⁻² | 1/4 | Multiplies each channel by 0.25 |
| -3 | 2⁻³ | 1/8 | Multiplies each channel by 0.125 |
Why Exposure Changes Color
Exposure multiplies linear RGB channels in proportion to their initial values. If a color starts with much more green than blue, an exposure increase changes the green channel by a larger absolute amount. As values grow, individual channels can also reach the limits of the output color space and clip. The result may change not only the lightness of a color but also its hue.
The first gradient below increases exposure from 0 steps on the left to 7 steps on the right. The initially dark green becomes more vibrant, then shifts toward bluish teal as its channels clip.

Brightness behaves differently because it adjusts perceptual lightness in OkLab. Taken to the extreme, the same green approaches white more evenly.

When to Use an Exposure Adjustment
A digital camera measures the red, green, and blue light it receives during an exposure. Because an exposure adjustment scales those same RGB values, it is a natural choice when correcting a camera's exposure or creating an effect based on photographic exposure. For a perceptually uniform change in how light or dark an image looks, a brightness adjustment is usually the better choice.
Exposure Steps Across an Image
The examples below apply exposure adjustments from -2 to +2 steps to the same image. Each positive step doubles the linear RGB values, and each negative step halves them. The 0-step image is unchanged.
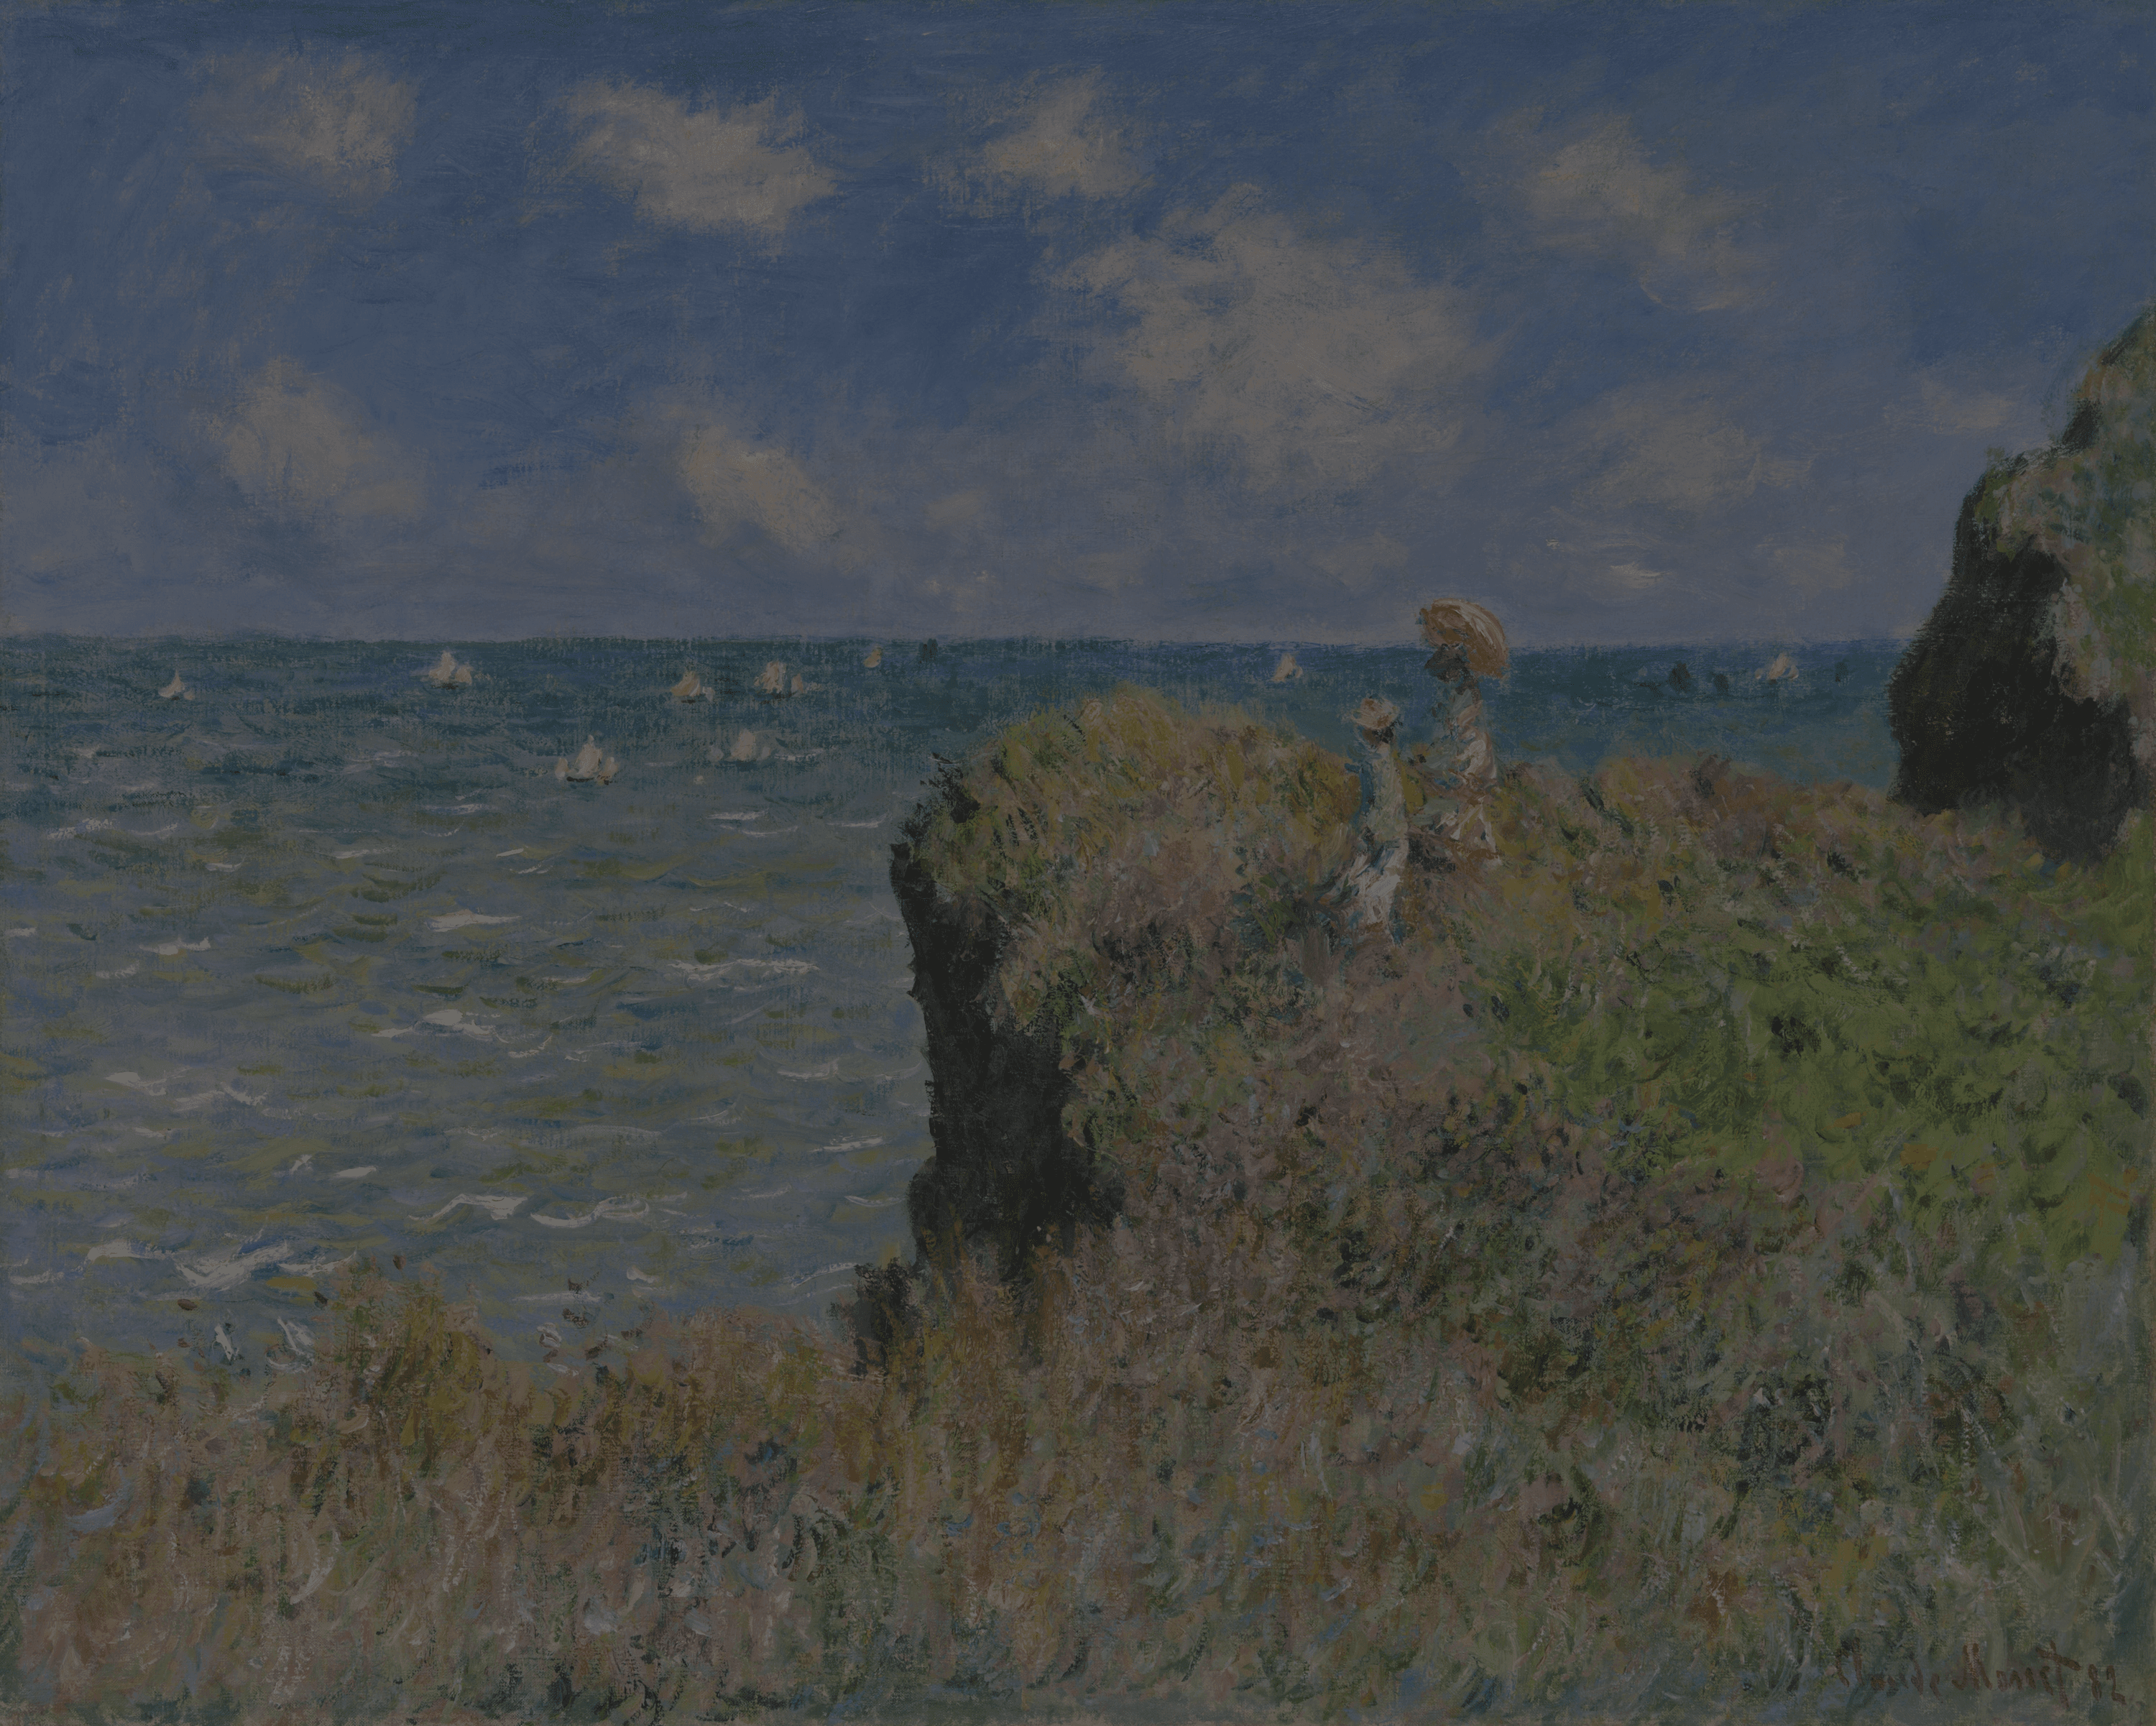
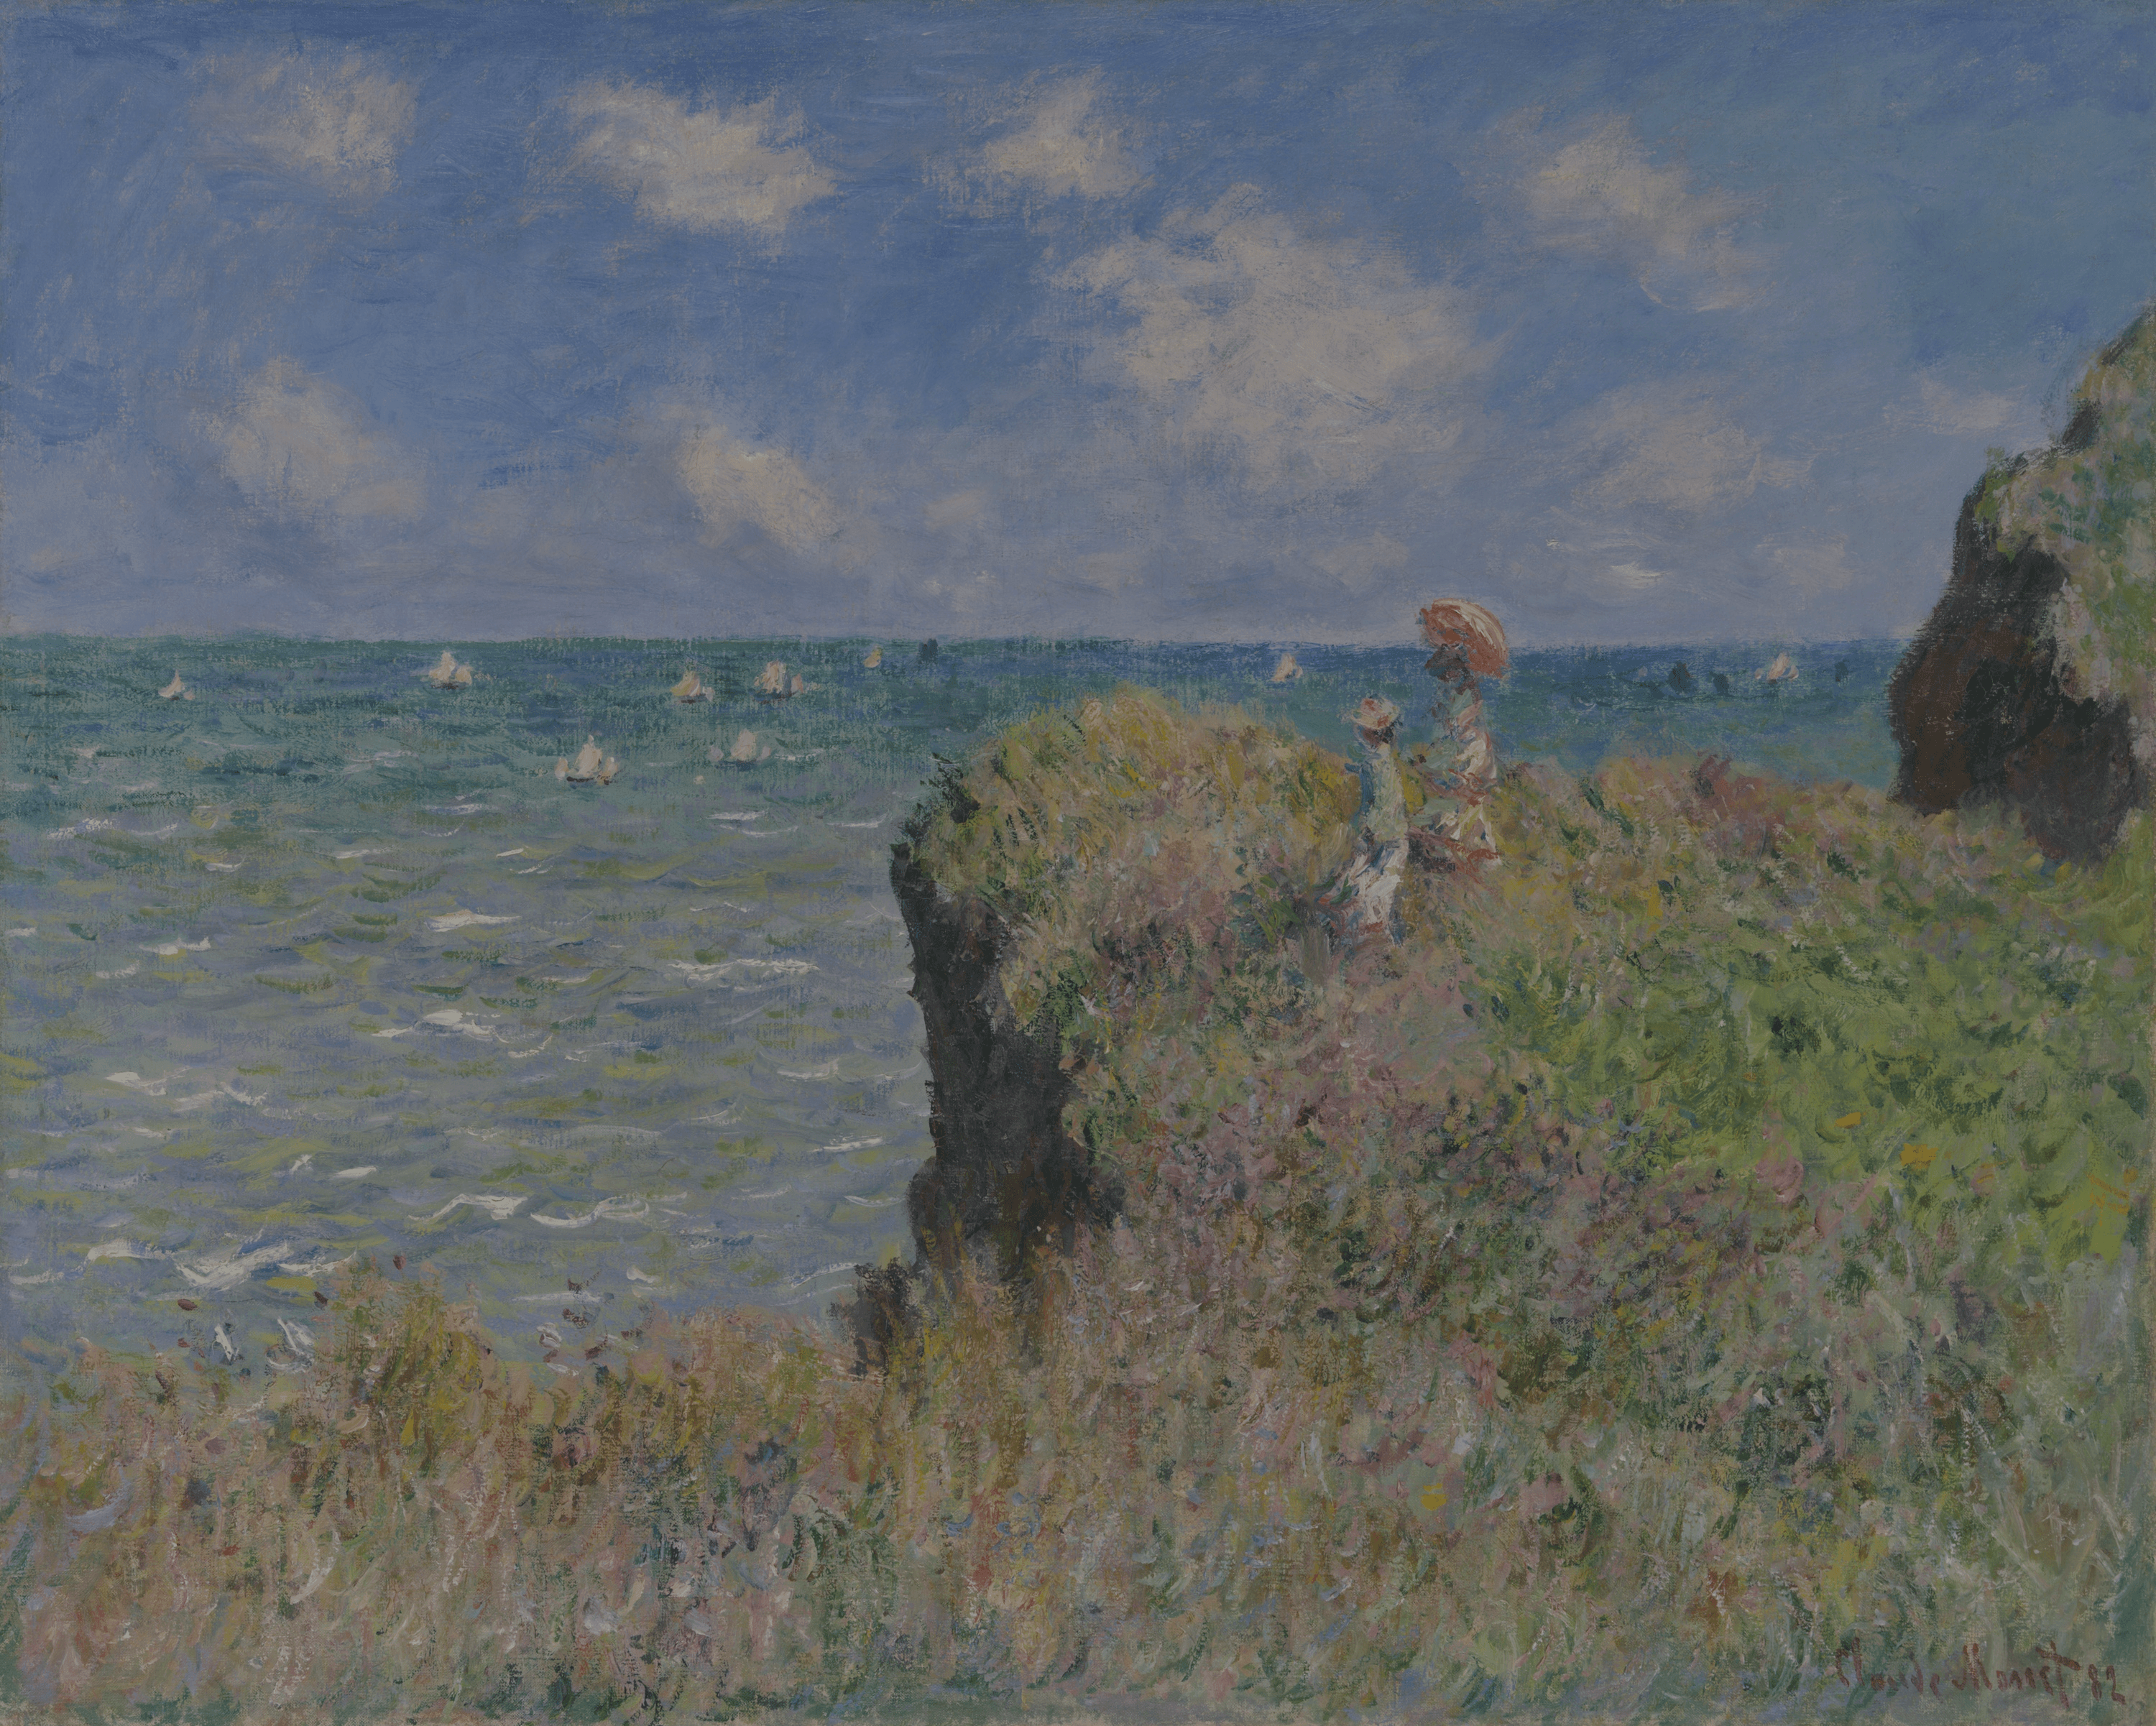
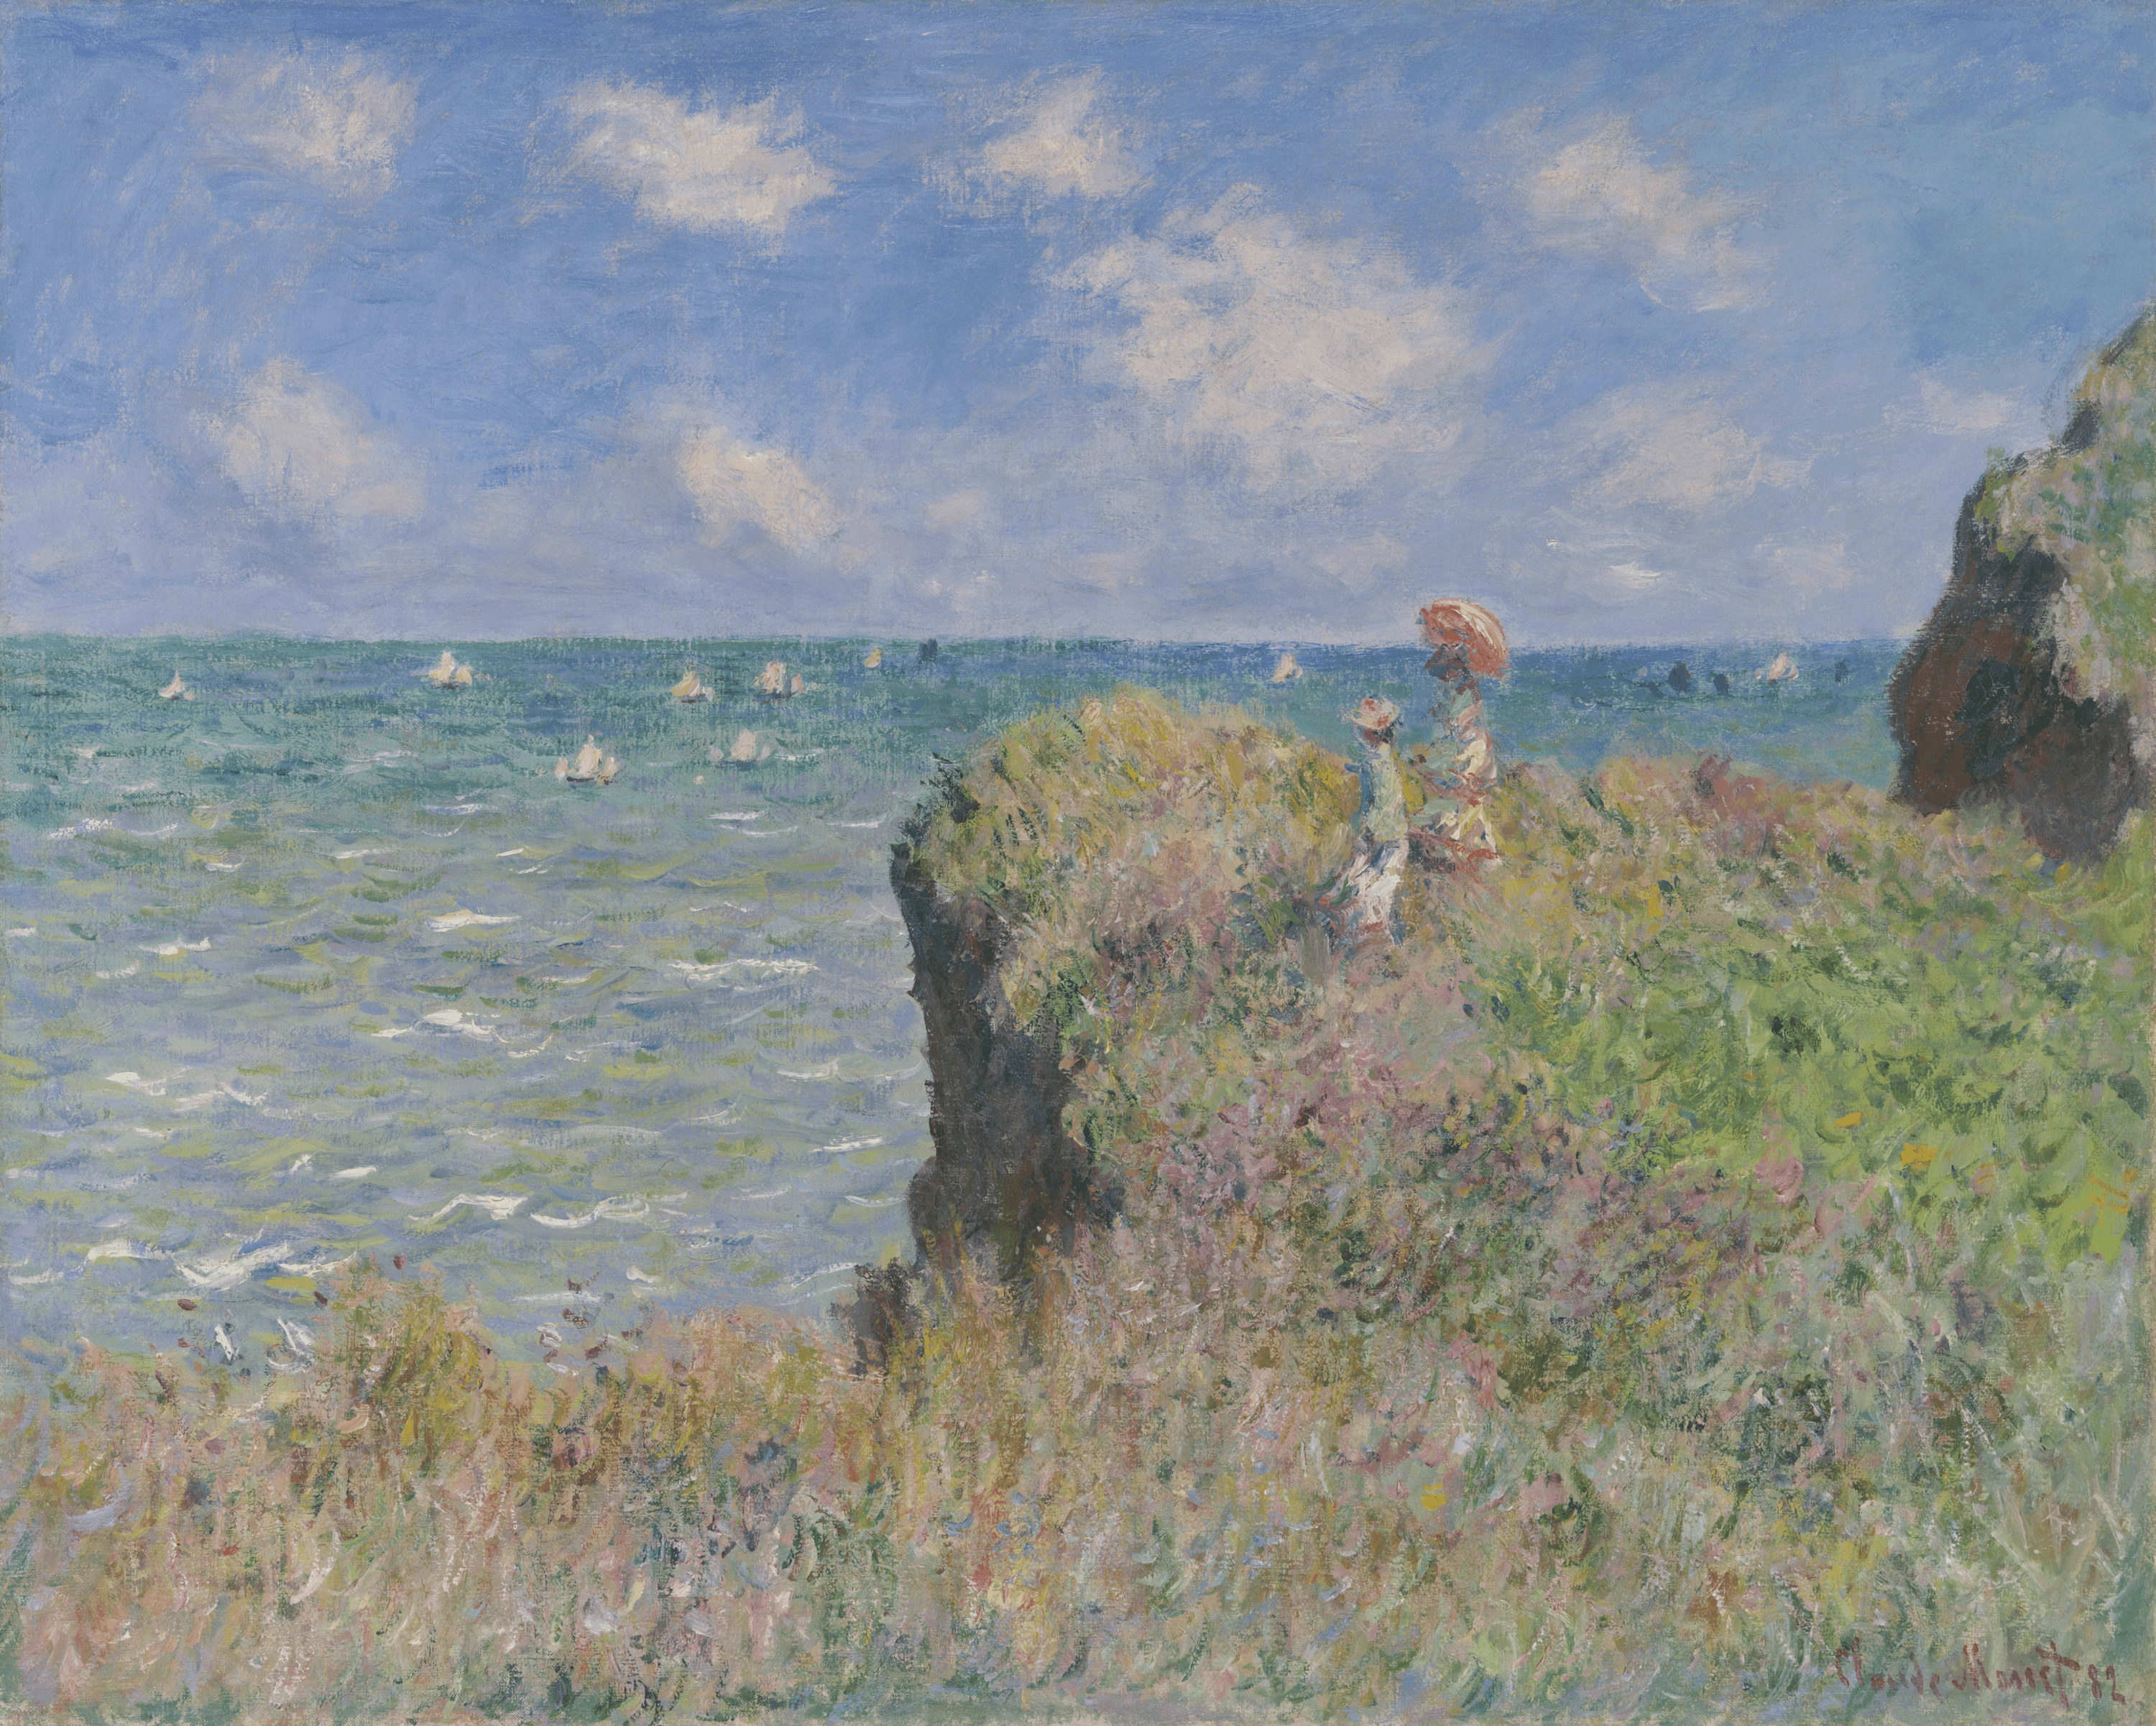
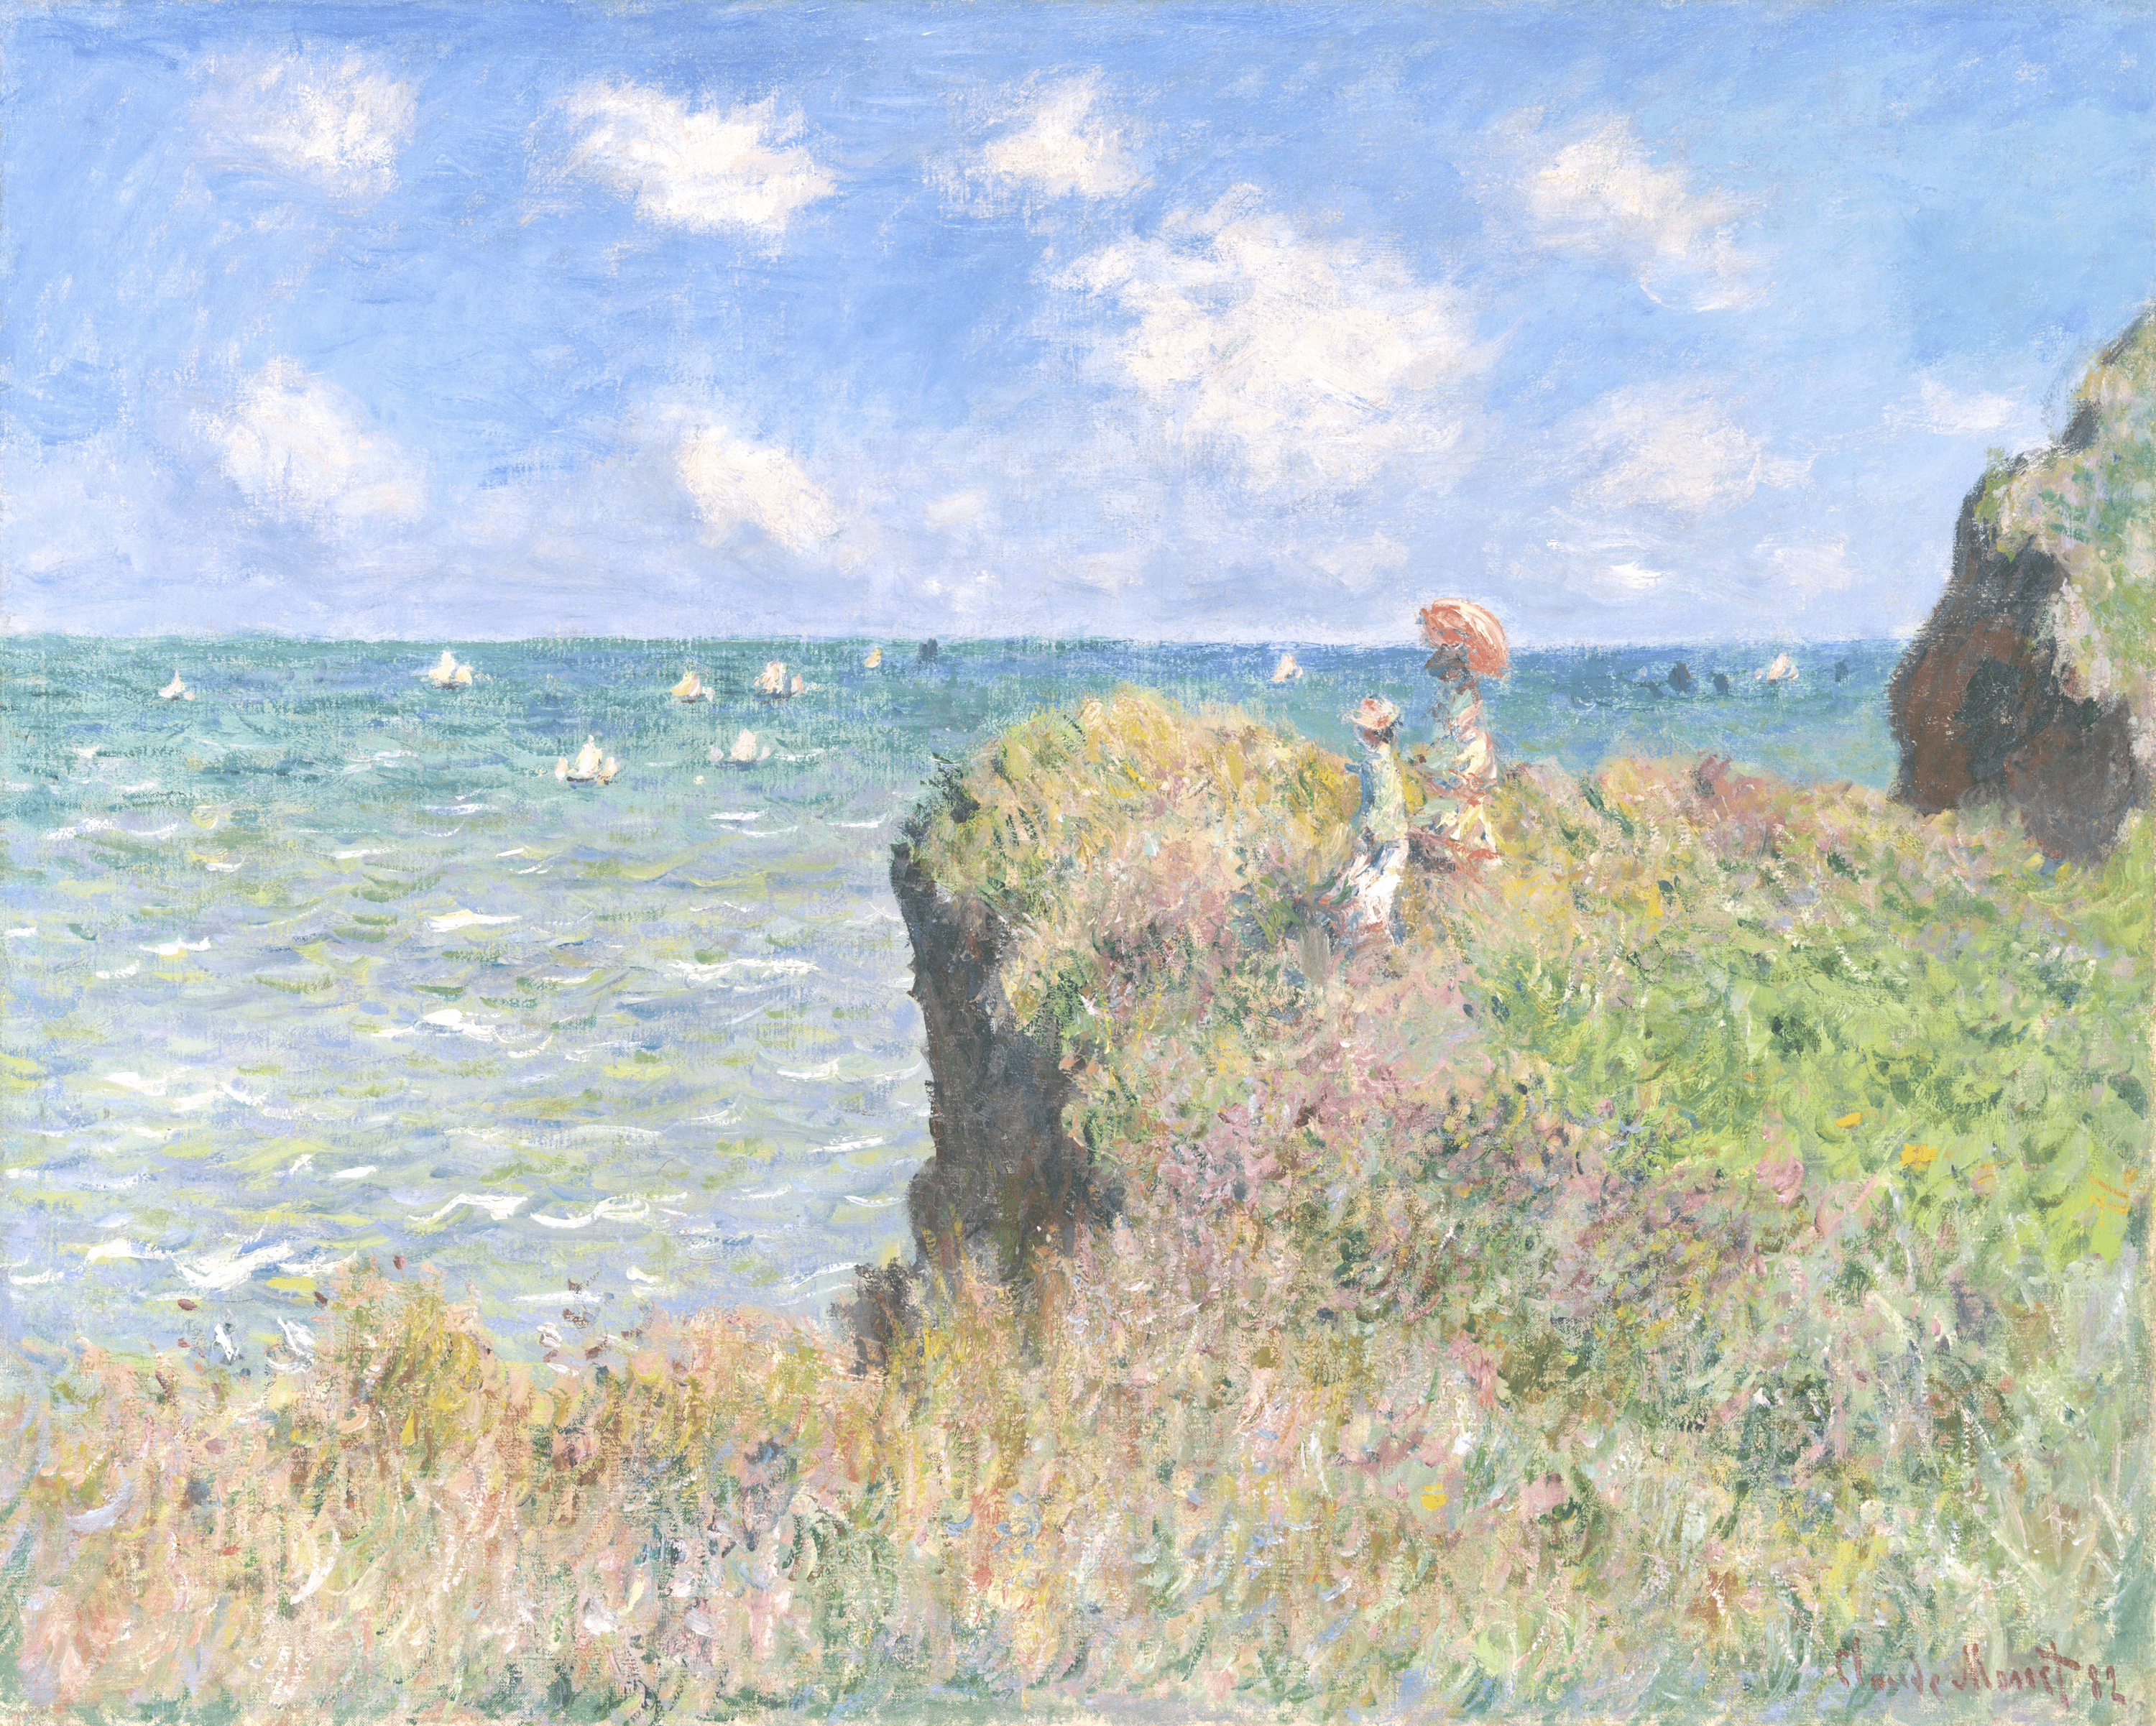
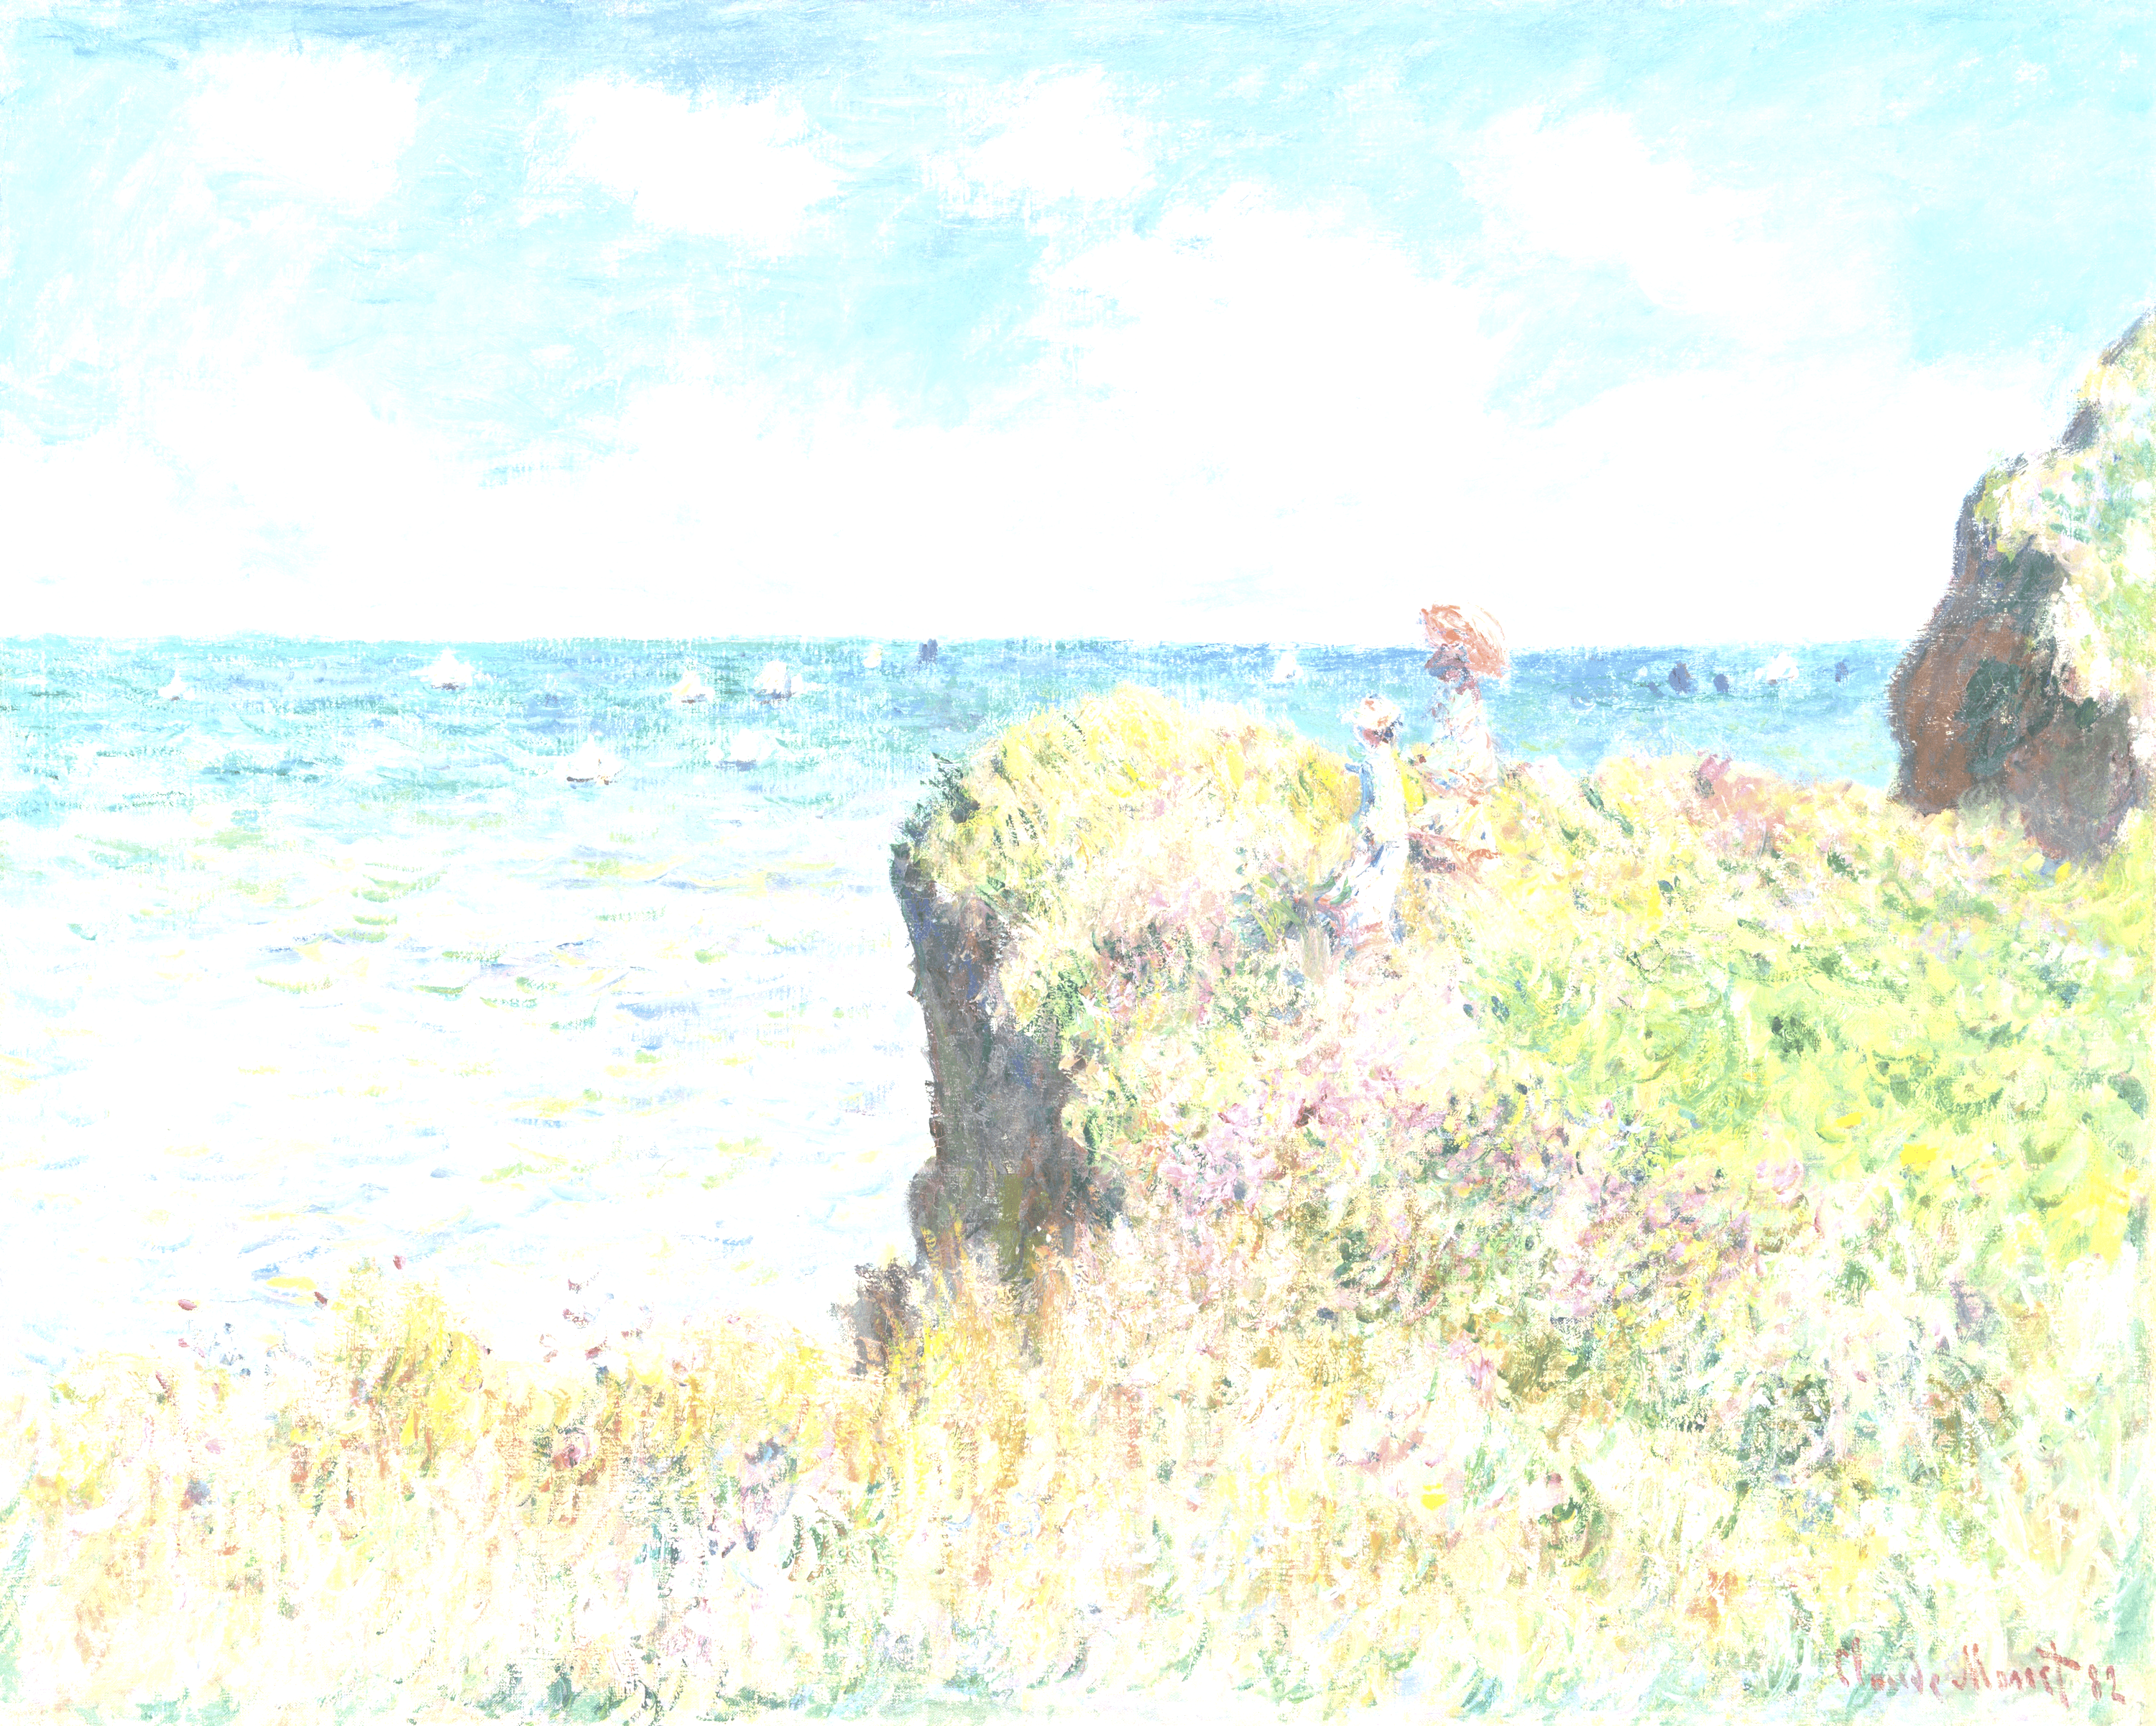
Image source: Claude Monet, Cliff Walk at Pourville, 1882. Art Institute of Chicago, Mr. and Mrs. Lewis Larned Coburn Memorial Collection, 1933.443. Public-domain source image from the Art Institute of Chicago.
Use It Yourself
Try the adjustment interactively with the BrushCue Exposure Adjust tool. To build the same operation into a script, follow the Exposure Adjust Python example, which is a useful starting point for experimenting with exposure steps in code.